
Last Updated: November 19, 2026
Quick Summary
Advanced concrete texturing for professionals is the discipline of turning a flat pour into a billable design feature using rollers for open fields, stamps for borders and touch-ups, and formliners for cast-in architectural panels. Choose tools by surface orientation, pattern scale, working-window length, and square footage one person must cover before the material sets.
- Rollers texture open fields seamlessly, stamps reach borders and steps, and formliners cast patterns into panels.
- A professional portfolio needs at least six finishes, including broom, exposed aggregate, stamped, and vertical overlay.
- Apply polymer-modified overlay in lifts of roughly 1/8 to 1/4 inch, building relief in stages.
- Spray rollers and stamps with odorless mineral spirits before every pass, never water.
- A one-person operation doing patios should stay manual and invest in quality rollers and stamps.
Table of Contents
- Why Advanced Concrete Texturing Separates Premium Work From Standard Flatwork
- The Best Concrete Texture Tools for Professionals and How to Choose Them
- Types of Concrete Finishes Every Professional Should Master
- Stamped Concrete Patterns and Textures That Sell
- Vertical Concrete Carving Techniques for Walls, Siding and Feature Panels
- Decorative Concrete Overlay Application Guide for Textured Surfaces
- Concrete Polishing and Epoxy Coatings as Texture Complements
- Formliner Techniques for Architectural Concrete Impact
- Pavement Surface Texture, Friction and Safety Standards
- Troubleshooting Common Concrete Texturing Failures
- Advanced Moisture Mitigation for Overlays and Textured Slabs
- Manual vs. Mechanical Texturing: A Cost-Benefit Analysis
- Sustainability and Eco-Friendly Texturing Agents
- Choosing Your Texture Tool Kit and Training Path
- Frequently Asked Questions
Why Advanced Concrete Texturing Separates Premium Work From Standard Flatwork
The concrete restoration market is projected to reach USD 20.4 billion by 2026, up from roughly USD 15.0 billion in 2021, according to Crestmont Capital's market analysis. That growth is not coming from pouring more gray slabs. It is coming from clients who want surfaces that look like quarried stone, reclaimed barnwood, or carved limestone, and who are willing to pay for it. Advanced concrete texturing for professionals is the discipline that turns a flat pour into a billable design feature, and at Something Better Corporation we have spent decades building the tools and training that make that transition repeatable.
Here is the core tension in this trade: a broom finish takes twenty minutes and earns commodity rates. A hand-textured flagstone patio takes a day and earns two to three times the square-foot price. The gap between those two outcomes is not talent.
Below, we break down the tools, finish types, vertical carving methods, overlay workflows, and failure modes that separate premium textured work from standard flatwork. You will also get a cost-benefit framework for manual versus mechanical texturing, a moisture-mitigation checklist, and a training path that fits a one-person operation.
The Best Concrete Texture Tools for Professionals and How to Choose Them
The best concrete texture tools for professionals are not the ones with the most patterns in the catalog.
Three families dominate professional texturing: rollers for open fields, stamps for borders and touch-ups, and formliners for cast-in architectural work. Each has a distinct failure mode, a distinct throughput profile, and a distinct place in a premium job.
Texture rollers are cylindrical covers that fit a standard 9-inch roller frame. They texture fresh, workable concrete, cement overlays, plaster, stucco, and drywall compound quickly, with no seams or stop lines across a field.
Texture Rollers vs. Stamping Mats vs. Formliners
Rollers win on speed and seamlessness for horizontal fields. A single artisan with a 9-inch roller can cover a patio field in a fraction of the time a hand-stamp crew needs, and the overlap pass hides the seam.
The selection question is not which family is best but where the handoff happens. A common pattern is to roll the field to within one roller-width of the border, then switch to stamps for the perimeter so the border carries a deliberate joint rather than a roller lap.
Polyurethane, Rubber and Real-Stone Masters Compared
Heavy-duty polyurethane is the material used for the roller covers and stamps in the SBC product line. The practical rule most shops follow is polyurethane for fine, shallow patterns and rubber for deep, undercut relief where release matters more than crispness.
Patterns cast from real stone and real wood carry grain, pitting, and fracture lines that a sculpted plastic pattern cannot fake.
A Selection Framework for Real Jobs
Choose by four questions, in order. First, what is the surface orientation? Second, what is the pattern scale? Third, how long is the working window? Fourth, how many square feet must one person cover before the material sets?
A one-person operation doing patios and feature walls should stay manual and invest in quality rollers and stamps. A crew running large commercial flatwork should mechanize the field and keep manual tools for the edges.
You can browse the full range of concrete texture tools by SBC to compare roller covers, stamps, and kits side by side.
Types of Concrete Finishes Every Professional Should Master
A professional texturing portfolio needs at least six finishes, because clients rarely ask for the same look twice. The core set is broom, trowel, exposed aggregate, stamped, vertical overlay, and polished or coated.
Broom finish is the baseline.
Hard trowel produces a dense, mirror-smooth surface for interior slabs.
Exposed aggregate reveals the stone in the mix by retarding the surface paste and washing it away.
Stamped concrete presses a pattern into colored, freshly placed concrete to imitate stone, slate, brick, or wood. It is the highest-margin finish for most residential crews.
Vertical overlay builds relief on walls and panels with a polymer-modified cementitious layer, then carves or stamps it.
Polished and coated finishes use mechanical grinding or epoxy to change sheen and color rather than relief.
| Finish | Typical Application | Skill Level | Margin Potential |
|---|---|---|---|
| Broom | Driveways, sidewalks | Beginner | Low |
| Hard trowel | Interior slabs | Intermediate | Low to medium |
| Exposed aggregate | Patios, pool decks | Intermediate | Medium |
| Stamped | Patios, walkways, driveways | Intermediate to advanced | High |
| Vertical overlay | Feature walls, siding | Advanced | High |
| Polished / epoxy | Interior floors, counters | Advanced | Medium to high |
Stamped Concrete Patterns and Textures That Sell
Stamped concrete sells when the pattern matches the architecture around it. A herringbone brick stamp on a colonial porch reads as authentic.
The patterns that consistently command premium pricing are weathered flagstone, Italian slate in narrow and large formats, classy granite, and wood plank.
Color matters as much as pattern. Integral color mixed into the concrete gives the most durable result because the color runs through the slab, not just on top.
Texture consistency is the metric to watch. On a large field, roller passes should overlap by roughly a third so the pattern never repeats visibly.
Vertical Concrete Carving Techniques for Walls, Siding and Feature Panels
Vertical concrete carving is the highest-skill, highest-margin branch of this trade. It builds three-dimensional relief on a wall by applying a polymer-modified overlay in lifts, then carving, stamping, or rolling detail into it before it sets. The result can pass for stacked ledger stone, board-formed timber, or carved ashlar.
Building Relief With Polymer-Modified Overlay
The overlay is the foundation. A polymer-modified mix gives the layer enough flex and adhesion to hang on a vertical surface without slumping, and enough body to hold a deep impression. Apply it in lifts of roughly 1/8 to 1/4 inch, building total relief in stages rather than trying to hang the full depth in one pass.
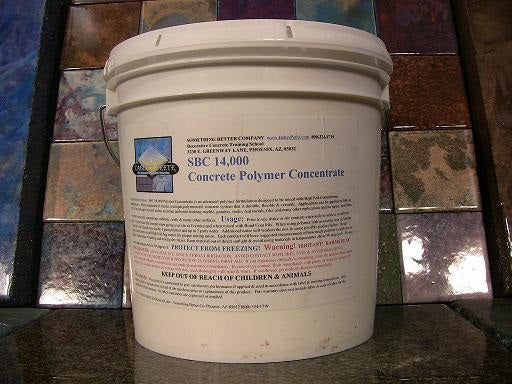
If you are mixing your own, a polymer concentrate for concrete overlay is the component that carries the bond and the flex. Get the ratio wrong and the overlay either sags off the wall or cures too brittle to carve cleanly.
Carving and Stamping Sequence for Deep 3D Detail
Sequence is everything on vertical work. Work top to bottom so drips and fallback do not land on finished detail. Establish the major relief first with a trowel or carving tool, then add secondary texture with stamps or rollers once the material reaches a clay-like firmness.
For deeper practical guidance on this exact workflow, our guide to stamping concrete feature walls that look real walks through the full sequence.
Watch out: carving too early tears the overlay and pulls it off the wall, while carving too late crushes the surface and leaves a glossy, compressed face that will not accept stain evenly.
Decorative Concrete Overlay Application Guide for Textured Surfaces
A decorative concrete overlay application guide for textured surfaces comes down to four stages: substrate preparation, bonding, placement, and texturing inside the working window. Skip any one and the texture will fail, usually within a season.
Substrate preparation is where most failures originate. The U.S.
Bonding means a bonding agent or a polymer-modified mix applied to a damp, saturated-surface-dry substrate. Dry substrate pulls the water out of the overlay and kills the bond.
Placement should be paced to what you can texture inside the working window. On a large field, place in sections you can finish, not sections you can pour.
Texturing happens when the material reaches clay-like firmness. Spray each roller or stamp with odorless mineral spirits before every pass so the texture releases cleanly, and never use water as a release agent.
If you want to produce your own veneer stone and water wall panels rather than hand-carving every job, the complete panel mold system for veneer stone and water wall manufacturing is worth a look.
Concrete Polishing and Epoxy Coatings as Texture Complements
Polishing and epoxy do not replace texture, they frame it. A textured feature wall in a polished-floor room reads as intentional design. That transition depends on treating the slab as part of the same finish system, with AquaBlast Elite marking the point where texture gives way to a controlled polish.
Concrete polishing uses a sequence of diamond abrasives to grind the surface to a specified sheen, typically from a matte 400-grit up to a high-gloss 3000-grit. It exposes the aggregate and the color of the mix, so it rewards a well-placed, well-colored pour.
Where the two meet is in transitions. A stamped patio that steps down to a polished interior floor needs a clean threshold detail, usually a metal edge or a saw-cut joint, so the two finishes read as one composition. The mistake crews make is treating these as separate trades on the same job.
Detailing the Texture-to-Polish Threshold
A threshold between a textured exterior and a polished interior has three jobs: shed water away from the interior, hide the transition in sheen, and survive movement between the two slabs. A metal edge set at the transition handles all three when it is installed before the textured side is placed, because the texture can be worked up to the edge and the polish can be cut back to the same line. A saw-cut joint works when the two surfaces are on the same slab and the joint can be filled with a semi-rigid sealant that accommodates movement without telegraphing through either finish.
The sheen transition is the detail most crews miss. A high-gloss polish meeting a matte stamped surface at a hard line reads as a mistake; the same transition softened by a short band of honed finish, typically in the 200- to 400-grit range, reads as deliberate.
Watch out: polishing slurry and epoxy primer both migrate. If the textured side is finished first, mask the threshold and the texture face before any polishing or coating begins, because cured slurry in a deep texture is nearly impossible to remove without altering the profile.
Where Coatings and Texture Conflict
Epoxy over a textured surface is a different problem from epoxy beside one.
On interior floors, the conflict runs the other way. A polished floor beside a textured wall needs the wall's sealer to be compatible with the floor's densifier, or the transition line will show a color shift where the two products overlap. Confirm compatibility before the first coat, not after the last.
Sequencing the Combined Job
The sequence that works is: place and texture the exterior first, cure it, then polish or coat the interior, then detail the threshold last. Detailing last lets you cut the transition to the actual finished surfaces rather than to a nominal line, and it keeps polishing equipment off the fresh texture. The crews that reverse this order, polishing first, then texturing, usually end up re-cutting the threshold after the texture is down, which is the most expensive way to get the same result.
Formliner Techniques for Architectural Concrete Impact
Formliners cast the texture into the concrete rather than applying it afterward, which makes them the only option when the pattern has to be integral to a structural or precast panel.
Elastomeric formliners handle deep relief and undercut detail because they flex out of the cured concrete without tearing. Rigid liners hold tight tolerances for repeating patterns like board-form or ribbed profiles.
Board-form finishes are the standout trend here. Contractors are increasingly incorporating board-form finishes into retaining walls and vertical applications, according to Concrete Decor's 2026 reporting on decorative concrete trends.
Pavement Surface Texture, Friction and Safety Standards
Surface texture on exterior pavement is a safety specification, not a cosmetic choice. The Federal Highway Administration's guidance on concrete pavement texturing is explicit that texture selection must balance noise reduction against friction requirements.
The practical takeaway for decorative crews: any textured exterior surface that will see foot or vehicle traffic needs a friction check. Broom, exposed aggregate, and most stamped patterns with a moderate profile pass comfortably.
Noise matters on residential streets and shared driveways. A coarse, deep texture generates tire noise; a fine drag texture is quieter.
Troubleshooting Common Concrete Texturing Failures
Most texturing failures trace to four causes: wrong timing, wrong release, wrong substrate, or wrong moisture. Diagnose by cause, not by symptom.
| Problem | Likely Cause | Fix | Impact |
|---|---|---|---|
| Texture tears or pulls | Material too wet, worked too early | Wait for clay-like firmness | Prevents rework |
| Roller sticks and lifts pattern | No release agent, or water used | Spray odorless mineral spirits each pass | Clean release every pass |
| Pattern fades or fills in | Overworked surface, excess paste | Reduce troweling before texturing | Sharper detail |
| Delamination of overlay | Poor profile, curing compound left on | Mechanical profile, verify before placement | Long-term bond |
| Efflorescence or blotchy color | Excess water, uneven curing | Control water, cure uniformly | Even tone |
| Cracks at relief transitions | Relief too deep for overlay thickness | Build relief in lifts | Structural integrity |
The single most common mistake we see is crews texturing on the clock instead of on the material. The mix tells you when it is ready. Your schedule does not.
Advanced Moisture Mitigation for Overlays and Textured Slabs
Moisture vapor transmission is the silent killer of textured overlays. Water vapor rising through a slab pushes against the overlay from below, and the bond fails from the inside out.
Test before you overlay. A calcium chloride test or an in-situ relative humidity probe gives you the slab's emission rate, and the overlay manufacturer's limit tells you whether you can proceed.
On exterior textured slabs, drainage matters as much as vapor. A slab that ponds holds water against the texture, and freeze-thaw cycles will spall the surface.
Manual vs. Mechanical Texturing: A Cost-Benefit Analysis
Manual texturing with rollers and hand stamps costs less up front and handles detail and tight geometry better than any machine. Mechanical texturing with power trowels, grinders, and automated stamping equipment costs more, runs faster on large fields, and produces more consistent results across a big pour.
| Factor | Manual (Rollers, Stamps) | Mechanical (Power Equipment) |
|---|---|---|
| Upfront tool cost | Low to moderate | High |
| Speed on large fields | Slower | Faster |
| Detail and tight geometry | Excellent | Limited |
| Consistency across big pours | Depends on crew | High |
| Best for | Detail work, small to mid jobs | Large flat fields |
| Crew skill required | High | Moderate |
A one-person operation doing patios and feature walls should stay manual and invest in quality rollers and stamps. A crew running large commercial flatwork should mechanize the field and keep manual tools for the edges. The hybrid approach, mechanical for the field and manual for detail, is what most profitable shops land on.
Sustainability and Eco-Friendly Texturing Agents
Sustainability is moving from a marketing line to a specification. Decorative concrete is entering a new era driven by smarter materials and rising design expectations, according to ForConstructionPros' 2026 coverage of decorative concrete.
For texturing crews, the practical sustainability levers are release agents and sealers. Odorless mineral spirits release cleanly and evaporate without leaving a residue that interferes with subsequent coats.
The honest caveat: the broader concrete construction sector faces real pressure, with cement consumption forecast to decline for a fourth straight year in 2026, per the 2026 Concrete Construction Outlook Report. Sustainability is not just a values play.
Choosing Your Texture Tool Kit and Training Path
The right tool kit is smaller than most beginners think.
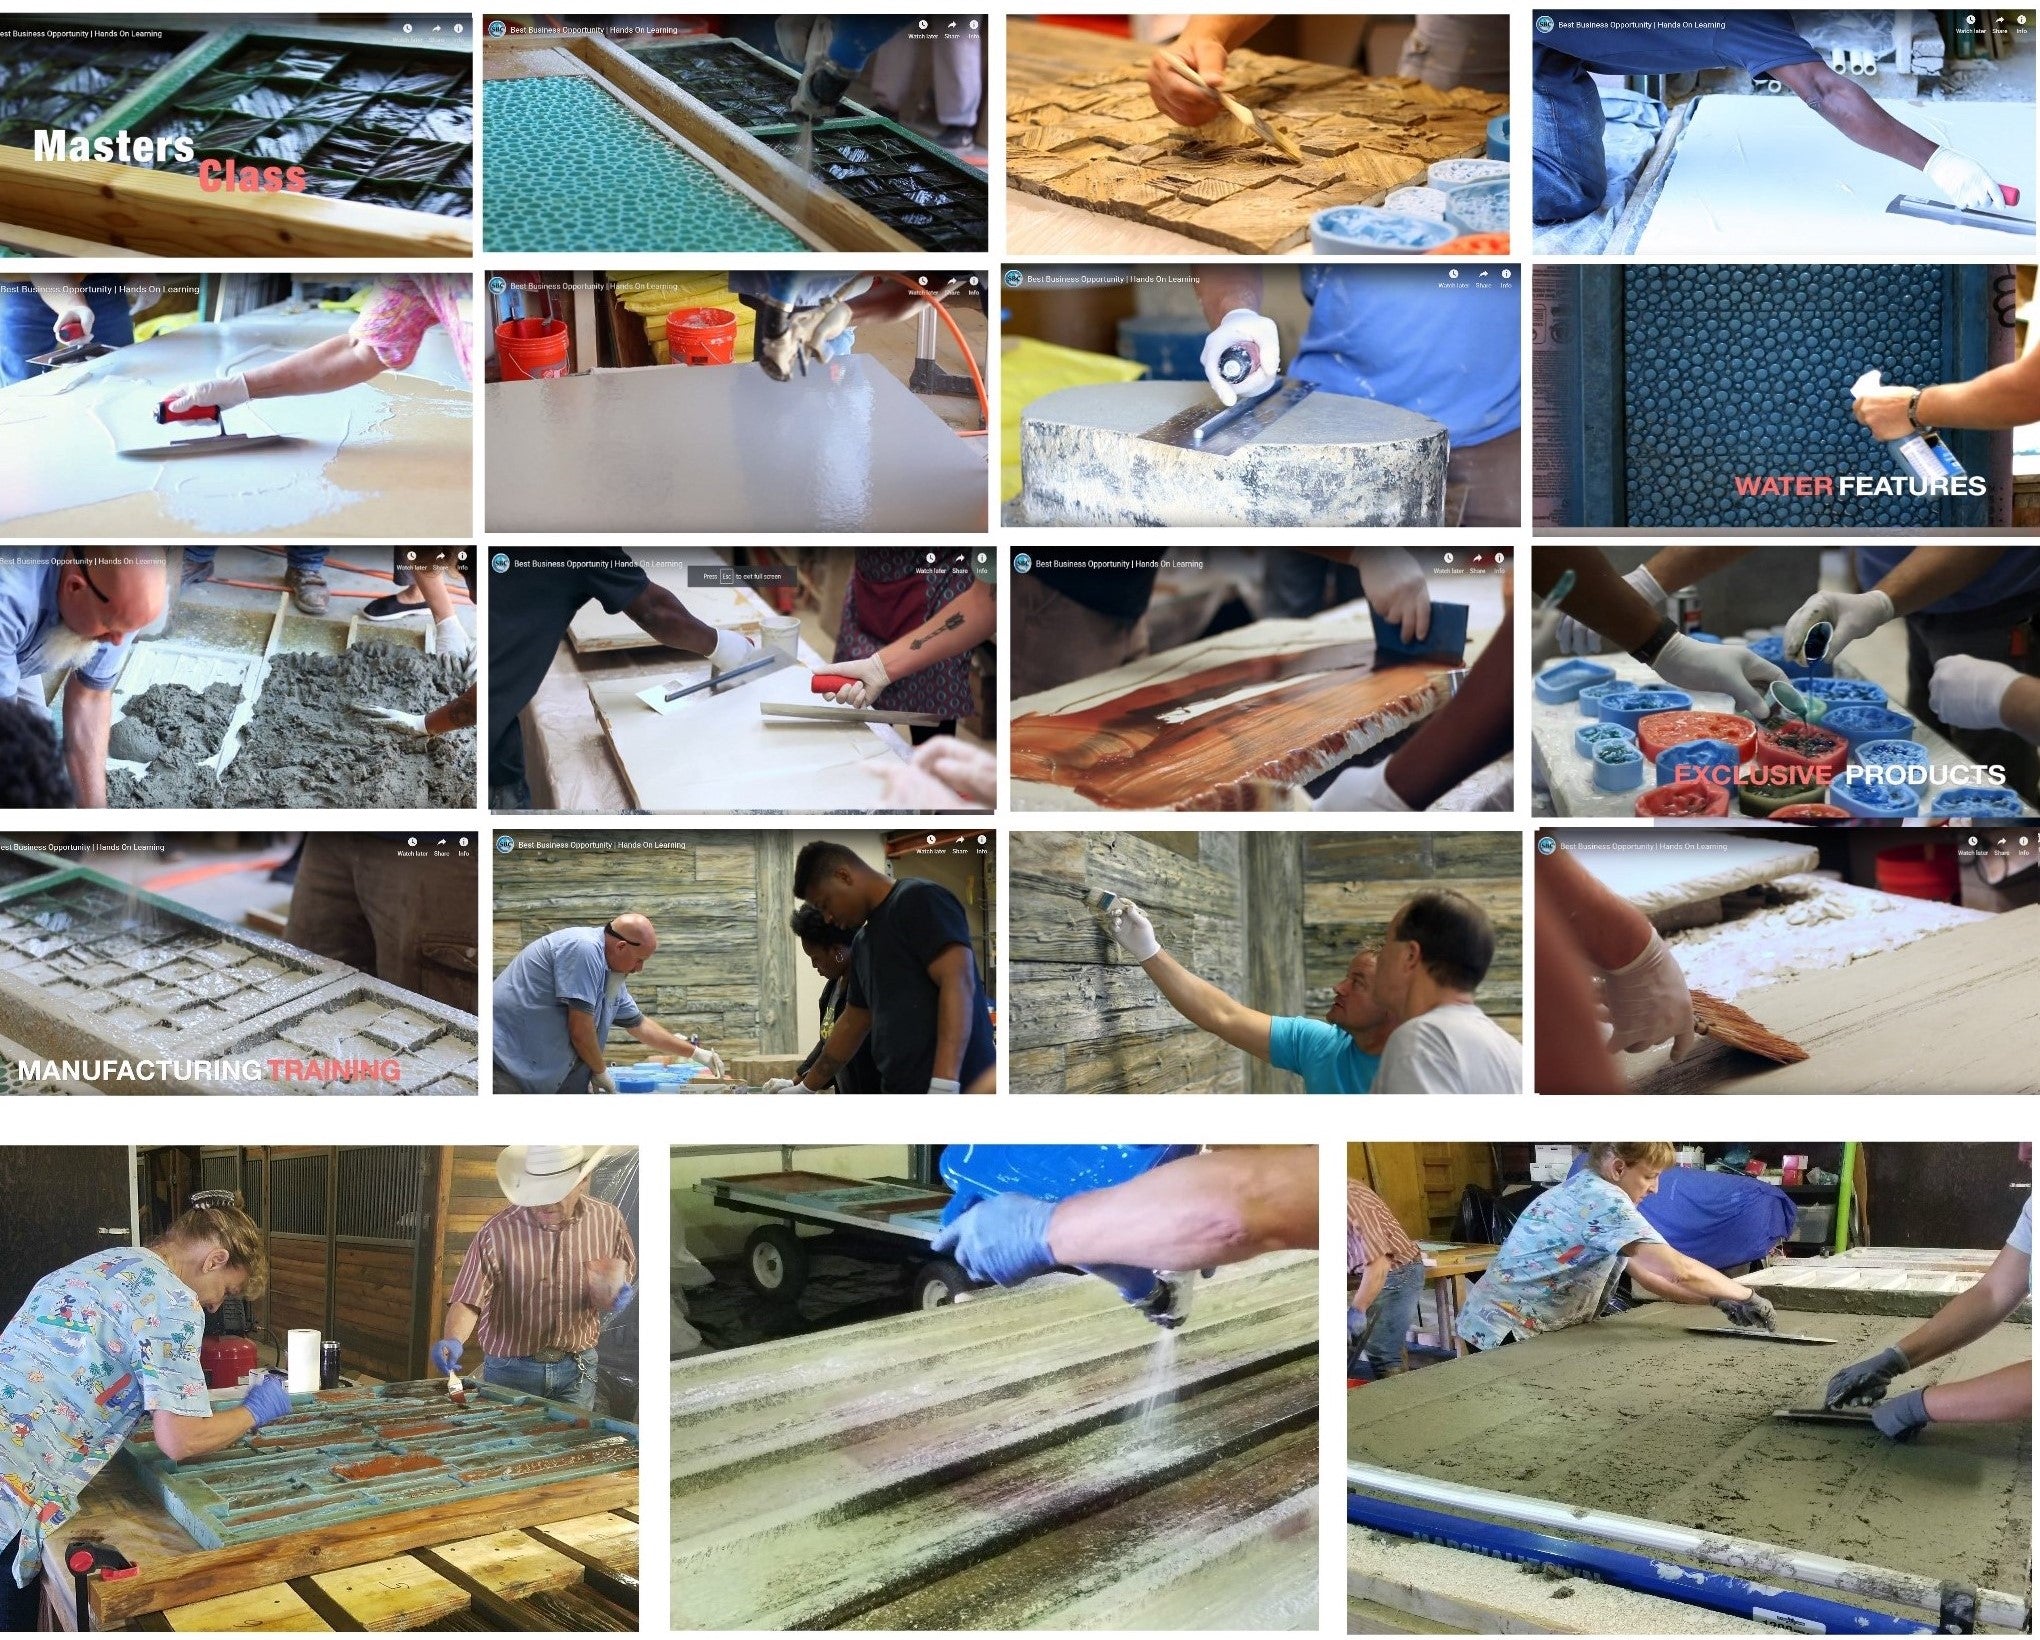
Training is the variable that decides whether the kit earns or sits in the truck. Our decorative concrete training for contractors and DIYers is built around exactly the sequence this article describes: substrate, overlay, timing window, texture, and cure.
The timing window is the question we hear most: 15 to 45 minutes sounds tight, and it is. The answer is practice.
Premium textured work is not a different trade from flatwork. It is the same trade with better tooling, tighter sequencing, and the discipline to texture on the material's clock rather than the job's.
Frequently Asked Questions
Can you add texture to existing concrete?
Yes, but not by pressing a roller or stamp directly into cured concrete. You apply a polymer-modified cement overlay 1/8 to 1/4 inch thick, let it set to a clay-like firmness, then texture it with rollers or stamps. Surface preparation matters most: substrate profile and cleanliness are what decide whether the overlay bonds. Grind or shot-blast the slab, remove contaminants, and prime before placing the overlay.
What are the most durable tools for advanced concrete texturing?
Durability comes down to the material the pattern is cast in. Heavy-duty polyurethane holds fine detail through repeated passes and cleans up without losing sharpness, which is why professional roller and stamp sets use it. Real-stone and real-wood masters capture authentic grain, and the production tools cast from them keep that detail. Clean tools thoroughly after every use, store them in a climate-controlled space, and a quality set lasts for years of jobs.
How do you achieve realistic stone and wood textures on vertical concrete?
Build the relief first with a polymer-modified overlay applied in layers, then texture while the material is still workable. Use hand stamps and smaller rollers for edges, corners and carved joints, and larger rollers for open fields. Spray odorless mineral spirits on the tool before every pass so the texture releases cleanly, and never use water as a release agent. Practice on a test panel first, because vertical material sets faster and the working window is tighter than on a slab.
What is the difference between stamping and carving in professional concrete texturing?
Stamping presses a pattern into the surface with a mat, stamp or roller, producing consistent repeatable texture across large areas. Carving removes or displaces material with hand tools to add relief, chiseled edges and one-off detail that stamps cannot replicate. Most high-end work combines both: stamp or roll the field for speed and consistency, then carve joints, borders and focal points. Carving demands more skill and time, so price it as a premium line item.
How do you prepare existing concrete surfaces for advanced texturing overlays?
Mechanical preparation is non-negotiable. Grind, shot-blast or scarify the slab to create a profile, then remove dust, oil and curing compounds that block adhesion. Repair cracks and spalls before the overlay goes down. Moisture testing belongs in the same checklist. A bonded overlay only performs as well as the bond beneath it.
Which release agents are best for high-detail concrete texture rollers?
Odorless mineral spirits work well for high-detail rollers and stamps. Spray the tool before every pass so the texture releases cleanly without pulling or tearing the surface. Never use water as a release agent on fresh cement overlay, because it dilutes the surface and softens the detail you are trying to capture. Keep the spray light and even; excess release agent can leave residue that interferes with integral color or subsequent sealing.
How tight is the working window for texturing fresh concrete?
With most mixes, the material reaches a clay-like firmness about 10 to 15 minutes after placing, and longer in cool weather. Press or roll firmly and evenly within that window. On vertical work the window is shorter because the overlay loses workability faster. Mix small batches, keep a test panel on site to check firmness, and plan your sequence so borders and carvings happen before the field texture where possible.
