
Quick Summary
Stamping roller patterns for patios are chosen by look, slab scale and upkeep. Flagstone and slate textures suit most patios and hide minor misalignment, while brick and cobblestone give a more formal, structured feel. Match roller width to the patio's narrowest dimension and plan seams along joints or borders.
- Flagstone and slate patterns are forgiving of minor misalignment and suit colour variation well.
- Patios under about 200 sq ft usually suit a medium-width roller of 18 to 24 inches.
- Overlap each pass by roughly one-quarter to one-third of the roller width.
- Test concrete readiness with a firm thumb press and a trial roll before full rolling.
- Deep textures collect debris and need regular sweeping and occasional pressure washing.
Table of Contents
- Which Stamping Roller Pattern Suits Your Patio
- Concrete Texture Roller vs. Stamping Mats: Which Works Better on Patios
- Matching Roller Size and Pattern Repeat to Your Patio Dimensions
- Preparing the Slab, Release Agents and Concrete Timing
- Rolling Technique: Keeping Lines Straight and Seams Hidden
- Stamped Concrete Patio Ideas by Style and Maintenance Need
- Renting a Stamp Roller or Buying Your Own
- Booking Your First Patio Project With Confidence
- Frequently Asked Questions
Which Stamping Roller Pattern Suits Your Patio
Choosing a stamping roller patterns setup comes down to three things: the look you want, the scale of your slab, and how much upkeep you can live with. Concrete stamping roller patterns for patios give you a way to mimic natural stone or wood, but each texture reads differently once sealed and in daylight.
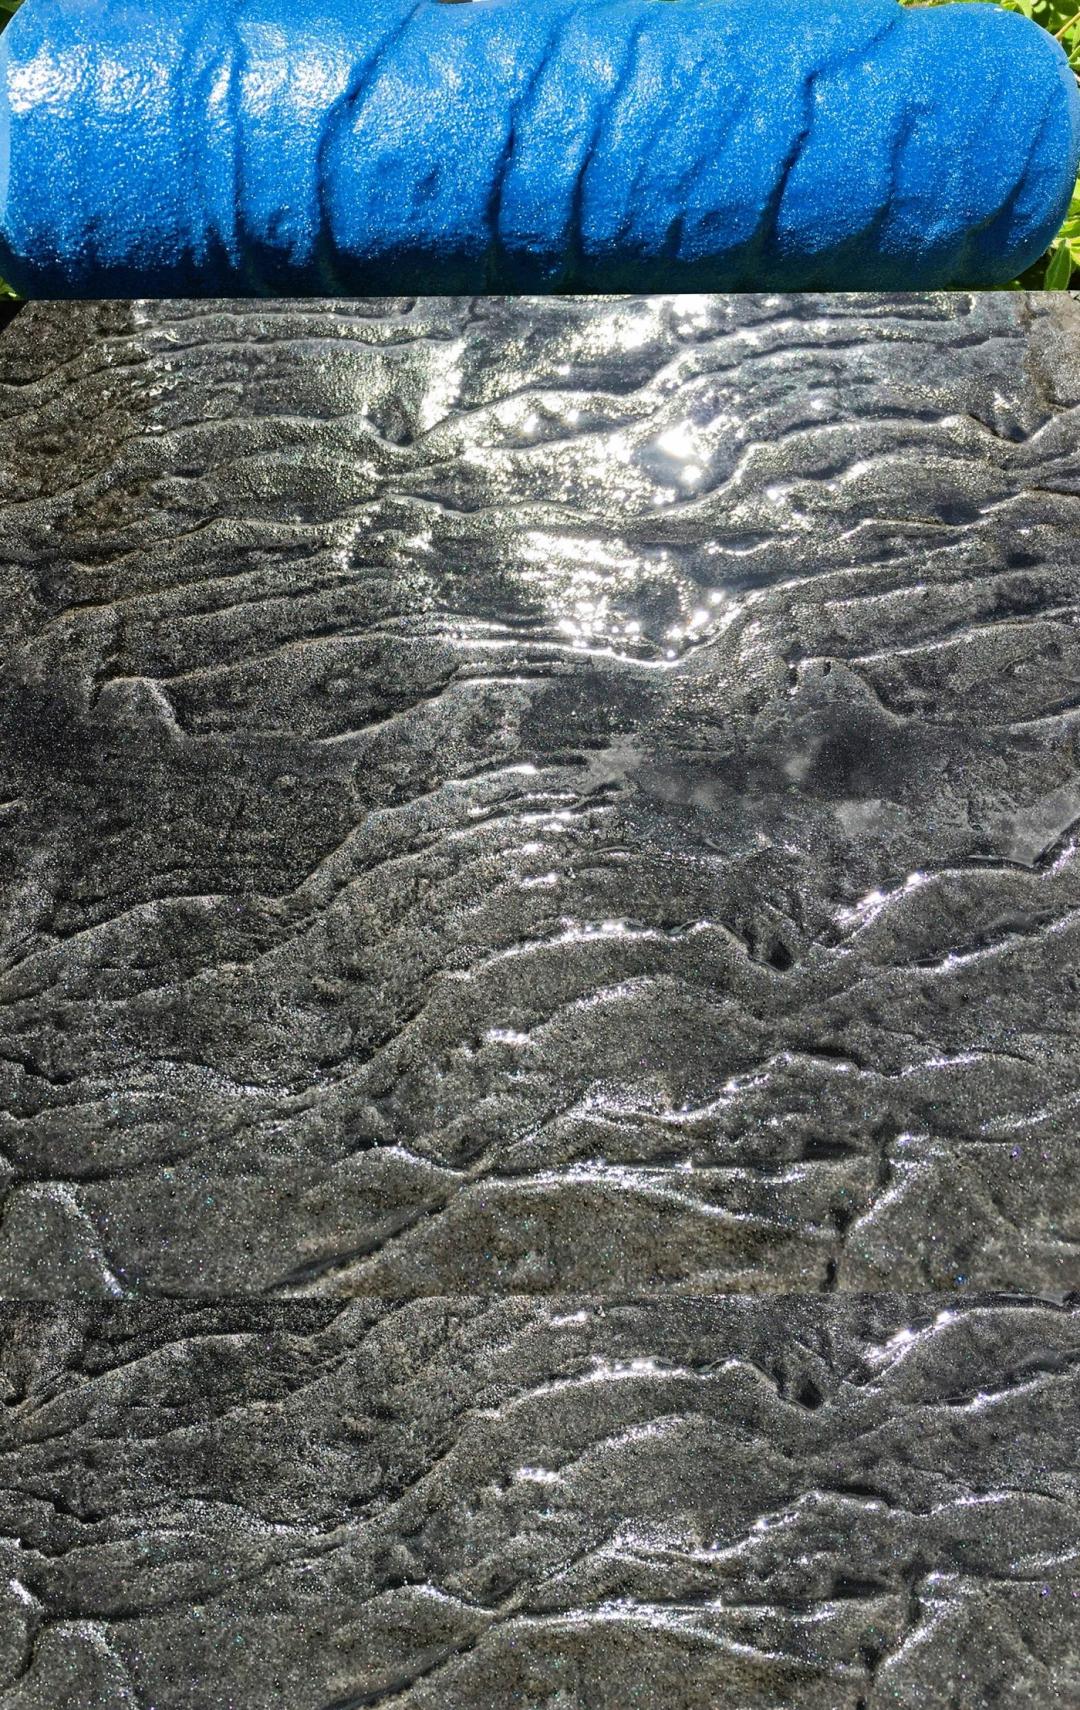
Start by walking the space and noting where people stand, sit and walk. Busy paths can handle bolder textures, while a quiet seating area often looks better with finer, more subtle detail.
Flagstone and slate textures
Flagstone is a popular look for patios. The "Original" Weathered Flagstone Texture Roller produces irregular, rock-like edges that suit casual backyards and cottage-style landscapes. Slate textures are tighter and more linear, which works well for modern homes and clean-lined designs.
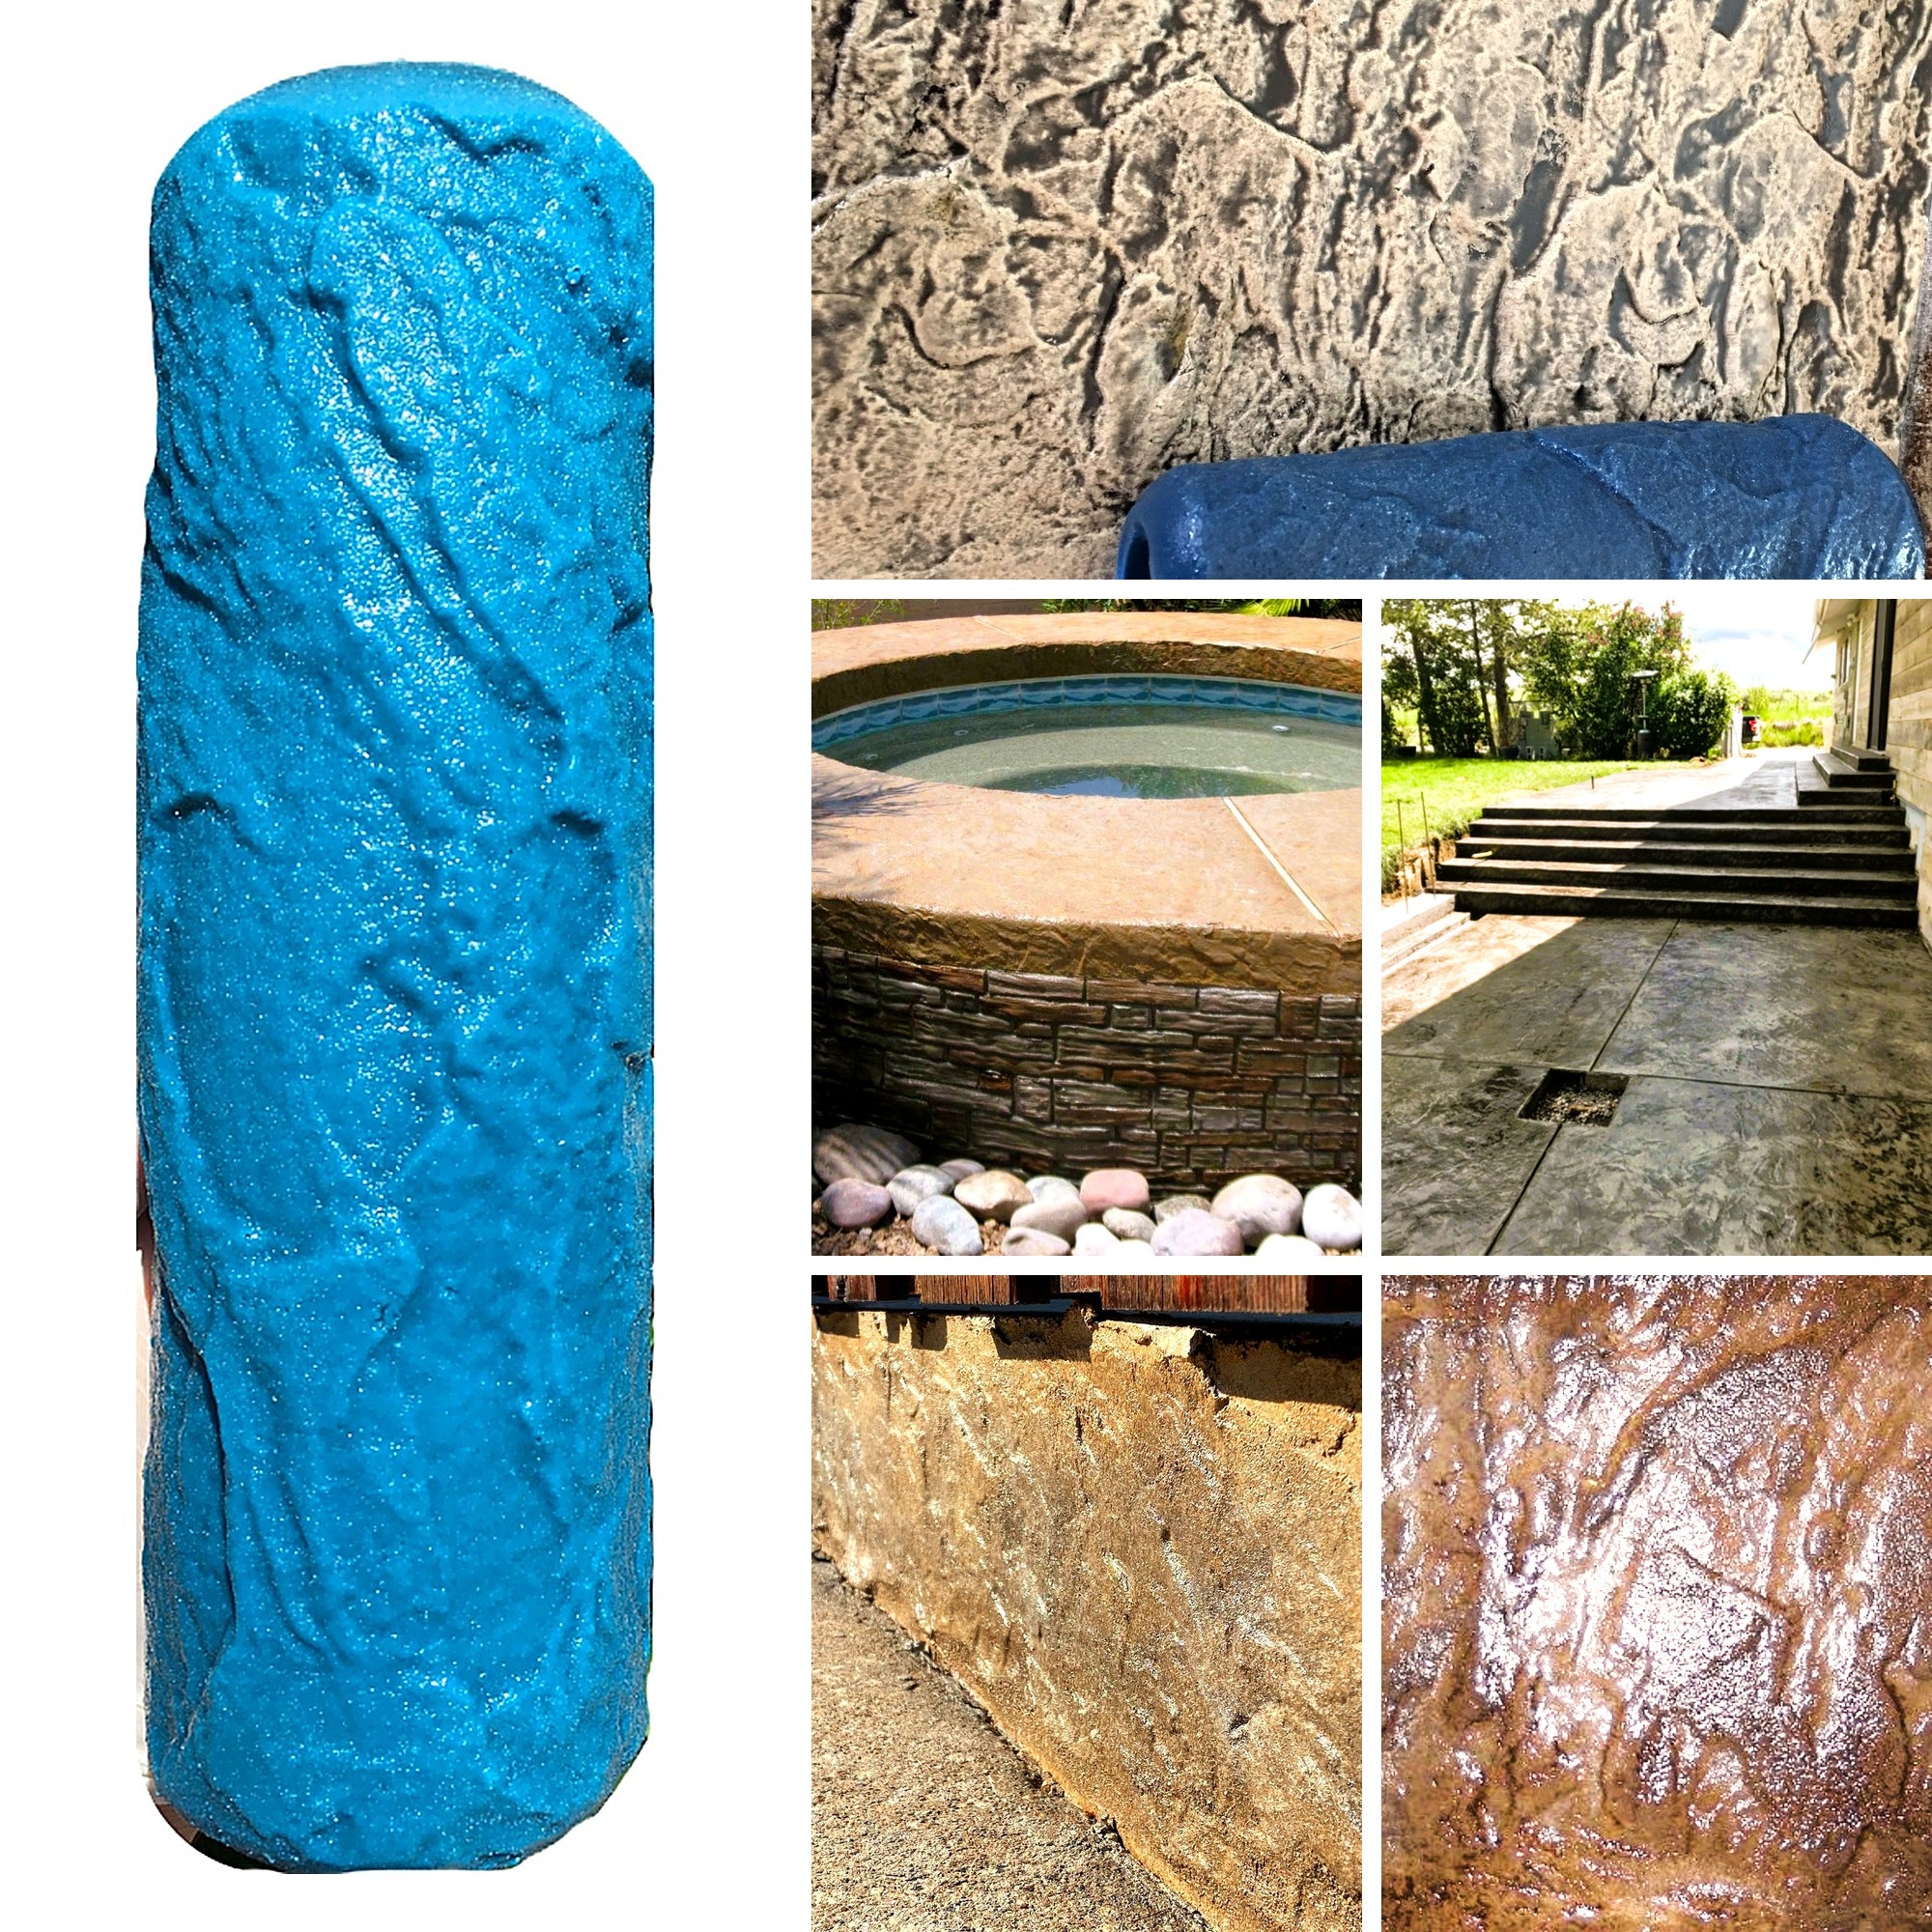
Pros of flagstone and slate patterns:
- Forgiving of minor misalignment, since the irregular shapes hide small overlaps
- Suits colour variation well, especially with two-tone colorant
- Works across most patio sizes
Cons:
- Irregular shapes make seam tracking harder for first-time installers
- Deep texture can collect debris and needs more thorough cleaning
For a ready-to-use combination, the Weathered Flagstone Project Kit includes the roller, two colorants, mica and sealer. It is sized for roughly 40 to 80 sq ft, which suits a small entry or an 8' x 8' patio.
Brick, cobblestone and wood-look textures
Brick and cobblestone patterns offer a more formal, structured feel. They suit patios attached to traditional brick homes or spaces that need a defined, garden-path character. Wood-look textures are less common on patios, but they can make a deck-style surface look like timber.
Pros of brick, cobblestone and wood-look patterns:
- Strong visual impact in larger areas
- Brick patterns make border work and edging easier to plan
Cons:
- Repeat patterns are more visible on open slabs
- Wood-look textures can feel out of place next to natural landscaping
Concrete Texture Roller vs. Stamping Mats: Which Works Better on Patios
Rollers and mats both create texture, but they behave differently on a patio. A roller lets you work continuously across a slab, which saves time on large areas. Mats press a full pattern at once, which can feel more controlled on small, detailed sections.
For most patios, a roller is the better choice because it handles long runs and gives you more flexibility with pattern repeat. Mats make sense for tight corners, steps or small pads where a roller would be awkward.
Decorative concrete texture roller and stamp mat comparisons often focus on look alone, but the practical differences matter more on a working site. Rollers need a steady hand and a plan for overlaps. Mats need precise placement and careful removal timing.
Matching Roller Size and Pattern Repeat to Your Patio Dimensions
Roller size controls how often the pattern repeats across the surface, but on a patio the repeat is only half the problem. The other half is layout: where the first pass starts, how each subsequent pass overlaps, and where the seams land relative to the patio's edges, joints and traffic paths. Get the layout right and a medium roller can look custom; get it wrong and even a wide roller leaves obvious rows.
Start with a scaled plan, not a guess
Measure the patio and draw it to scale on graph paper or in a simple layout app. Mark the following before you choose a roller:
- The primary sightline, usually the view from the main door or the main seating area. This is where pattern alignment matters most.
- Control joints, expansion joints and any saw-cut lines. These are natural places to hide a seam.
- Borders, steps, planters and fixed furniture. These break up the field and give you places to reset the pattern.
- The direction of travel, the path people walk most often. Runs should generally follow that path so the texture reads as continuous.
Choose roller width against the smallest dimension
A wider roller covers more ground per pass but makes repeats more obvious on a small patio. As a working rule, match the roller width to the patio's narrowest dimension so you can complete a full run without a partial row:
- Patios under about 200 sq ft: a medium-width roller (typically in the 18-24 inch range) usually gives the best balance of detail and coverage. Wider rollers tend to produce a visible repeat before the slab is finished.
- Patios from roughly 200 to 500 sq ft: a wide roller can work if you plan the runs along the long axis and use borders or joints to break up the field.
- Patios over about 500 sq ft: consider a two-roller approach, a wide roller for the open field and a narrow roller for edges, borders and tight areas, so the repeat is interrupted by deliberate detail rather than left to chance.
These ranges are starting points, not rules. The pattern itself matters: irregular flagstone hides repetition better than a tight brick or cobblestone grid, which shows every misaligned row.
Plan the starting point and the run direction
Start from the least visible edge, usually the edge farthest from the main door or the edge that meets a lawn or planting bed, and work toward the most visible edge. That way any partial row or slightly compressed pattern ends up where it is least noticed.
Run the roller in straight, parallel passes along the long axis of the patio. Working from one end to the other, rather than starting in the middle, keeps the pattern consistent and makes it easier to correct drift before it compounds.
Manage the repeat with a simple overlap rule
Each pass should overlap the previous one by a consistent amount, enough to blend the texture but not so much that the pattern doubles up. A common pattern is to overlap by roughly one-quarter to one-third of the roller width, then check the join in raking light before moving on. If the overlap is too small, you get a visible seam; if it is too large, the pattern looks compressed and busy.
Watch out: if you change overlap mid-run, the seam becomes obvious even when the texture itself is fine. Pick an overlap, mark it on the roller handle or frame with tape, and keep it consistent across the whole patio.
Hide seams where the eye already expects a break
Seams are the hardest part of roller work to hide, so plan them rather than discovering them. Good places to land a seam include:
- Along control joints and expansion joints
- Under a border band or a change in colorant
- At the edge of a step, planter or fixed feature
- Along a natural break in an irregular pattern, such as a large stone edge
For a patio with a border, run the field first and the border last, or mask the border line so the field roller does not drag texture into it. For a patio without a border, a narrow accent band of a different texture or color is often the simplest way to disguise a seam that cannot be avoided.
Test the repeat before committing
Before rolling the full slab, roll a test section at least as wide as two full passes and look at it from the main sightline in natural light. If the repeat is obvious, switch to a narrower roller, rotate the run direction, or add a border or joint line to break up the field. It is far easier to change the plan on a sample board than on a finished patio.
Preparing the Slab, Release Agents and Concrete Timing
The quality of a stamped patio depends on preparation and timing as much as technique. This section covers the full sequence so the roller meets concrete at the right moment.
Prepare the subgrade and forms before the pour
Preparation starts below the concrete. Compact the subgrade, confirm the forms are level and set to the finished patio height, and check that any reinforcement or mesh is positioned correctly. High spots and low areas in the base will telegraph through the texture, and a form that is out of level shows up as a wavy edge once the patio is sealed.
Plan the pour in sections you can actually finish. A patio poured as one large slab may set before you can roll every square foot, especially in warm or windy weather. Dividing the patio into bays that follow control joints, borders or natural breaks lets you texture each section while it is workable and keeps the seams where the eye expects them. Keeping those bays aligned with the chosen Pebble Mix texture also makes it easier to carry a consistent, comfortable surface across the patio.
Apply release agent evenly and test it first
Release agents keep the roller from sticking to the concrete. Apply them evenly with a sprayer or brush and avoid heavy pooling, which can leave blotchy marks that show through the sealer. Test the release agent on a small area first to confirm the texture releases cleanly before committing to the full slab.
Watch out: a release agent that is too heavy can fill fine detail and dull the pattern, while one that is too light lets the roller drag and tear the surface. Aim for a thin, uniform film and reapply only where the roller starts to stick.
Test concrete readiness with a thumb press and a trial roll
Timing is the most common source of problems. Concrete needs to be firm enough to hold the pattern but still soft enough to take the imprint. Readiness is commonly tested in two steps:
- Thumb press, press a thumb firmly into the surface. The concrete should hold a shallow indentation without the surface tearing or the thumb sinking in.
- Trial roll, roll a small, inconspicuous section and lift the roller. A clean, sharp impression means the concrete is ready; a smeared or shallow impression means it is too early or too late.
Working too early smears the detail and pushes the pattern out of shape. Working too late leaves a shallow, weak texture that will not hold up under sealer and traffic. Weather matters: heat, wind and direct sun accelerate set time, while cool, humid or shaded conditions slow it down. On a hot day, plan to roll earlier and work in smaller sections; on a cool day, allow more time and check readiness more often.
Sequence the pour so every section gets rolled in time
A practical patio workflow looks like this:
- Pour and screed the first bay, then float it to a uniform finish.
- Apply release agent as the surface loses its sheen.
- Test readiness, then roll the bay in planned passes with consistent overlap.
- Move to the next bay while the first is still workable, or stop at a control joint or border so the seam is deliberate.
- Return to edges, borders and tight areas with a narrower roller or a mat before the concrete stiffens.
If the concrete sets before you finish a section, do not force the roller. Stop, clean the tool and plan the next section to meet the existing edge cleanly. Forcing a roller on stiff concrete tears the surface and leaves a repair that is harder to hide than a planned joint.
Finish, cure and seal as part of the same workflow
After rolling and coloring, finish the edges and joints while the concrete is still workable, then cure the slab according to the manufacturer's instructions. Curing is not optional on a stamped patio: it controls moisture loss and helps the surface reach the strength and durability the texture depends on.
Once the concrete is fully cured, clean the surface and apply a clear sealer to protect the texture from moisture and staining. The Weathered Flagstone kit includes APS-25 for this purpose, and most sealers specify a recoat schedule that should be followed to keep the patio looking finished. Preparation, timing, release agent and sealing are one continuous process, skipping any step shows up in the texture, the color or the long-term wear.

The sequence below summarises the key preparation and timing steps covered in this section.
| Step | What to do | Time or check |
|---|---|---|
| Prepare base | Compact subgrade, set forms level to finished height | Before the pour |
| Divide pour | Split patio into bays that can be finished in time | Plan bays before pouring |
| Apply release agent | Apply thin, even film; avoid pooling | Test on small area first |
| Thumb press test | Press thumb firmly; should hold shallow indent | Before rolling |
| Trial roll | Roll small section and lift; check impression is sharp | Before full slab |
| Roll bay | Roll planned passes with consistent overlap | While concrete is workable |
| Finish and cure | Finish edges and joints, then cure per manufacturer | After rolling and colouring |
| Seal | Clean and apply clear sealer once fully cured | After full cure |
Rolling Technique: Keeping Lines Straight and Seams Hidden
Good rolling technique comes down to consistent alignment and overlap. Set a chalk line or guide at the start of each run, and keep the roller tracking along it. Overlap each pass slightly so the pattern joins naturally rather than leaving a visible gap.
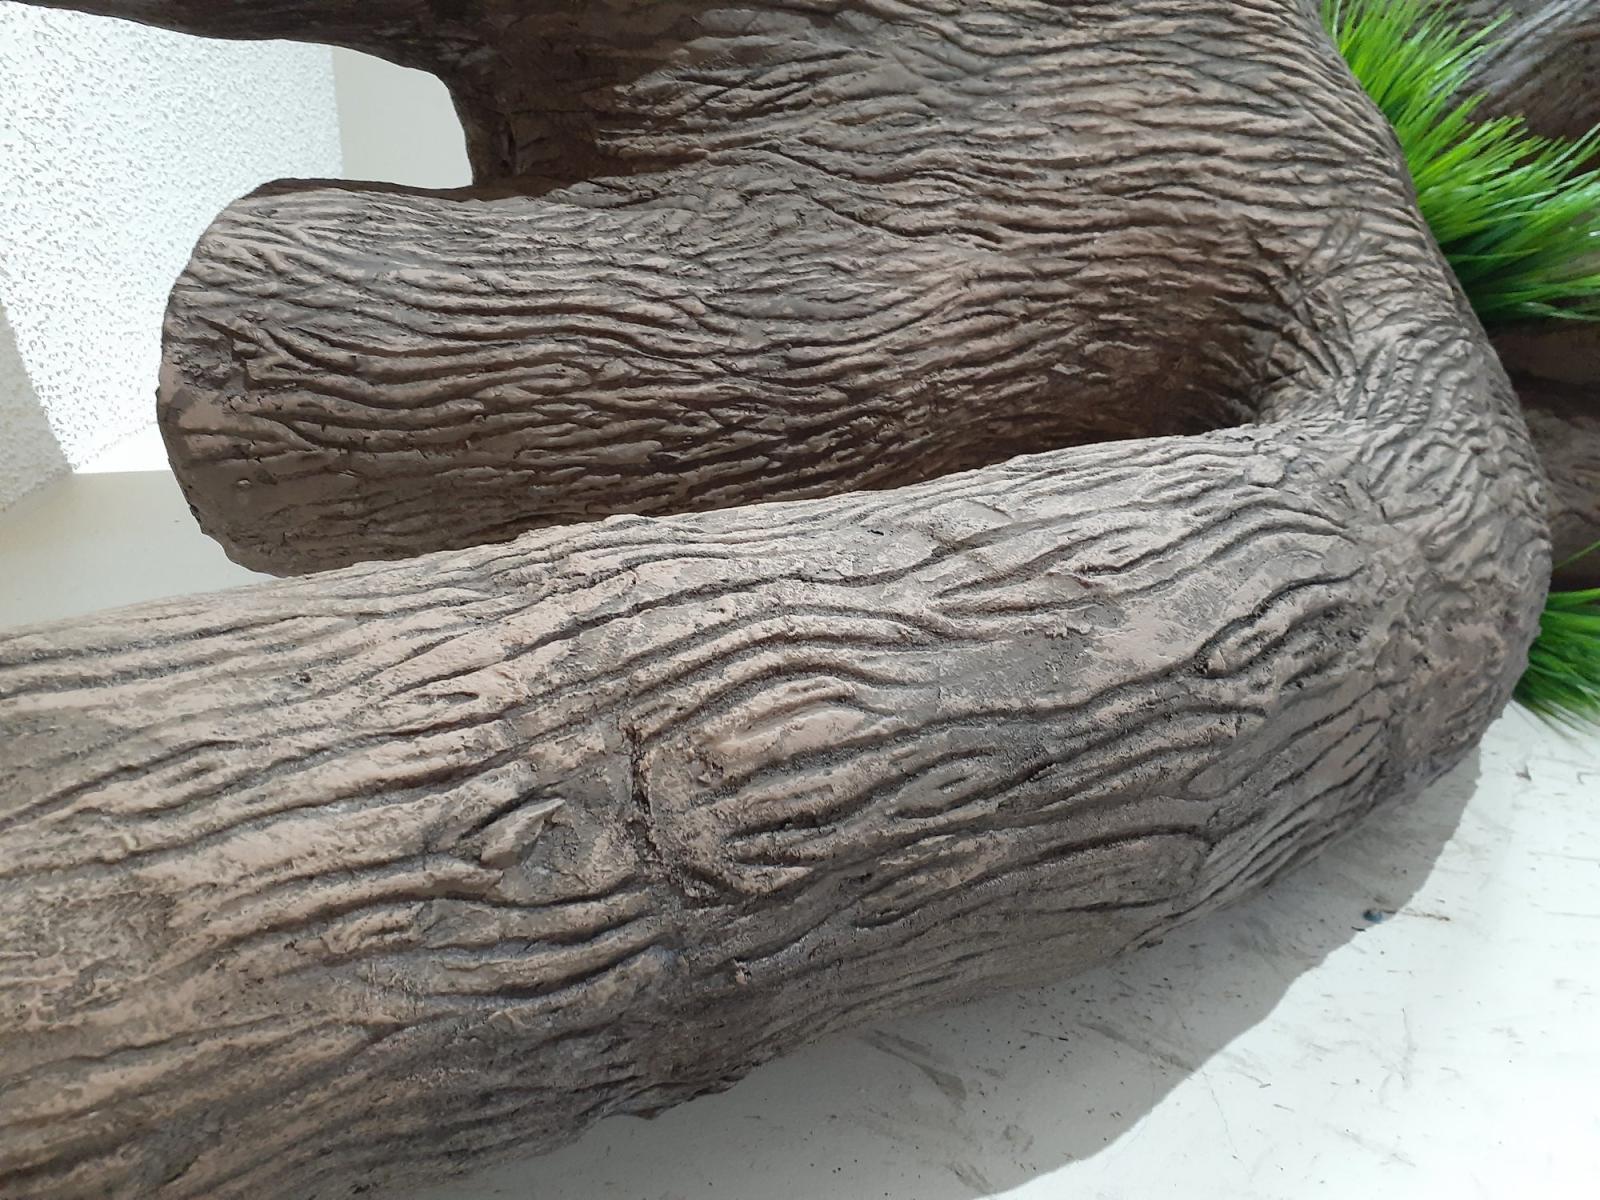
Seams are the hardest part to hide. Plan your runs so seams fall along natural breaks in the pattern, such as stone edges or joint lines. Working from one end of the slab to the other, rather than starting in the middle, also helps keep the pattern consistent.
A common mistake is rushing the turn at the end of each pass. Lift and reposition the roller smoothly, then re-check the alignment before pressing down again.
Stamped Concrete Patio Ideas by Style and Maintenance Need
Style and maintenance should guide your pattern choice as much as looks do. A formal garden suits brick or cobblestone textures with tight, regular repeats. A relaxed cottage garden suits random flagstone with warm, earthy tones.
Maintenance matters too. Deep textures collect leaves and dirt, so they need regular sweeping and occasional pressure washing. Finer patterns are easier to keep clean but show wear sooner on high-traffic areas.
Consider a few practical ideas:
- Border a flagstone field with a narrow brick band for definition
- Use a two-tone colour scheme to add depth without changing the pattern
- Pick a slate texture for a modern, low-maintenance look with clean lines
Renting a Stamp Roller or Buying Your Own
Renting makes sense for a single patio project, especially if you have no plans to stamp again. Buying makes more sense if you expect to work on several jobs, want to match a specific pattern across multiple sites, or plan to offer the service professionally.
When comparing options, check the roller size, the pattern available, and whether the rental includes the release agent and colourant. Buying lets you build a consistent set of tools, which helps with pattern matching across phases of a project.
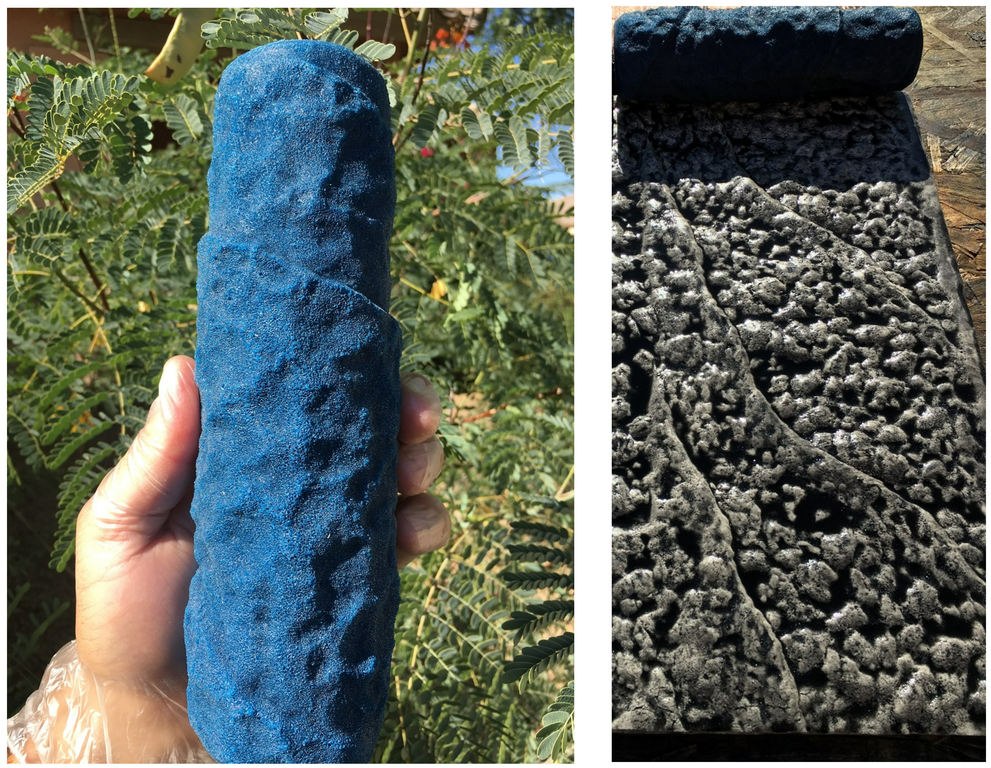
Our rollers are available individually and as sets. Browse the Concrete Texture Rollers - Large Weathered Slate Granite Texture Roller for a larger-format slate option, or the The "Original" Medium & Narrow Italian Slate Concrete Texture Roller Set if you want two sizes to reduce visible repeat.
Booking Your First Patio Project With Confidence
Your first stamped patio will teach you a lot, so keep the scope manageable. A small entry, walkway or 8' x 8' patio is a good place to practise timing, alignment and sealing before tackling a larger slab.
If you are new to decorative concrete, consider training before committing to a full project. Our Decorative Concrete Training for Contractors & DIY courses cover technique and workflow, and FREE Training For Qualified Customers is available to eligible buyers.
Plan the project from start to finish, test your pattern on a sample area, and schedule the work around the concrete timing windows.
Last Updated: November 14, 2026
Frequently Asked Questions
What are some popular patterns for stamped concrete patios?
Flagstone, slate and ashlar stone are among the most requested patterns for patios because they read as natural stone and hide minor wear well. Brick herringbone and cobblestone suit traditional gardens, while wood-plank textures give a deck-like look. Choose a pattern whose scale matches the size of your patio, since large stones can look out of place on a small slab. Weathered flagstone with two or three colour tones is a dependable starting point for most homeowners.
Can you use a concrete stamping roller on a patio?
Yes. Texture rollers are designed for patios, walkways, driveways and garage floors as well as vertical surfaces. The roller is pressed or rolled into concrete while it is still workable, so timing matters more than the surface type. Run a test patch on a scrap section first to confirm the depth of impression and the timing window for your mix. Pattern rollers work best on flat, evenly finished slabs with a consistent concrete batch.
Are concrete stamping rollers easier to use than stamping mats?
Rollers are generally easier to control on larger patios because you can work in strips and move the tool along a straight line, which reduces the number of seams you need to hide. Mats cover a fixed area at once, so they can be faster on small slabs but leave more joints in a big pour. Both methods need careful timing and a release agent. The better choice depends on patio size, pattern repeat and how much layout work you are prepared to do.
How do you keep a concrete roller pattern straight?
Snap chalk lines across the slab as guides and roll along them in consistent passes. Overlap each pass slightly so the pattern lines up with the previous strip, and check alignment after every few feet. Working in sections of manageable size helps you keep the pattern aligned before the concrete sets. Avoid rolling too quickly, as uneven pressure can make the lines wander.
