
Last Updated: November 12, 2026
Quick Summary
Yes, you can get an authentic stone texture concrete finish, but it depends on planning first. Choose your stone look, project size, and skill level, then pick a method such as stamping, formliners, hand carving, or surface retarders.
- Ask three questions first: stone look, area size, and time before the concrete sets.
- Stamping suits patios and walkways, but pattern repeats show unless you rotate and stagger the stamp.
- Formliners give consistent deep relief for vertical walls and precast panels, fixed at forming time.
- Mix concrete to a firm, clay-like consistency so impressions keep their edge definition.
- Layer darker stain into recesses and lighter tones on high points to create natural variation.
Table of Contents
- Why Authentic Stone Texture on Concrete Takes Planning
- Best Concrete Texture Tools for Beginners
- Preparing the Surface and Mixing Your Material
- How to Make Concrete Look Like Natural Stone
- Concrete Stamping Techniques for Realistic Finishes
- Layering Color and Stain for Natural Variation
- Achieving Stone Texture on Concrete Countertops
- Troubleshooting Common Texturing Mistakes
- Sealing and Maintaining Your Textured Surface
- Planning Your First Textured Project
- Frequently Asked Questions
Why Authentic Stone Texture on Concrete Takes Planning
Getting real stone texture on concrete is possible, but it rarely happens by accident, and the stone texture concrete finish you want depends on planning first. Most failed attempts come from skipping the planning stage and grabbing the first tool at the hardware store.
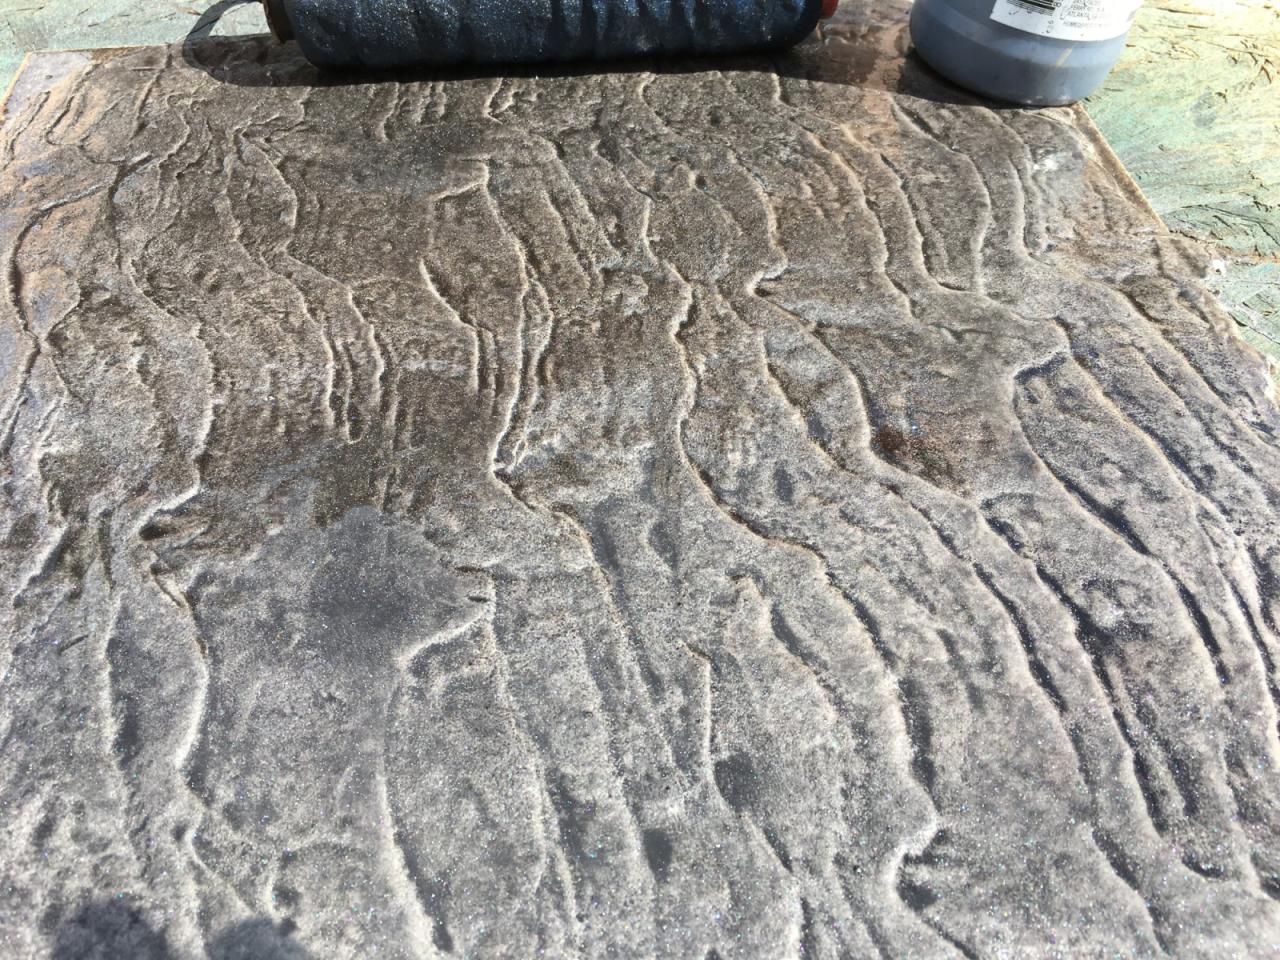
The surface you want to imitate has depth, color shifts, and irregular edges. Concrete has to be formed with those same qualities while it is still workable. That means your choices about tools, timing, and material all matter at once.
Good results start with three questions. What stone look are you after? How big is the area? How much time do you have before the concrete sets? Answer those before you buy anything. A clear plan helps prevent much of the wasted material that people often blame on the tools.
Expect a learning curve. Your first test patch will likely look a little off, and that is normal. If you want structured guidance from the start, Decorative Concrete Training for Contractors & DIY is available to help you build your skills.
Best Concrete Texture Tools for Beginners
The useful comparison is not roller versus stamp; it is which texturing method fits your stone look, your project scale, and your skill level. Here is how the main physical methods compare.
Stamping. Stamps are rigid or semi-rigid mats pressed into firm concrete to reproduce stone, slate, or flagstone patterns. They offer strong realism on flatwork and good control around edges and steps. The trade-off is repetition: a single stamp used across a large slab produces visible pattern repeats unless you rotate and stagger it. Skill requirement is moderate, cost is moderate, and scale is best for patios, walkways, and borders.
Formliners. Formliners are liners fixed inside the formwork so the texture is cast into the concrete as it sets. They deliver the most consistent deep relief and are the standard choice for vertical walls and precast panels, where pressing a stamp is impractical. The trade-off is that the texture is fixed at forming time, so you cannot adjust it later. Skill requirement is moderate to high, and scale is best for walls, panels, and repeated architectural elements.
Hand carving and tooling. Carving or tooling the surface while the concrete is still workable gives the most control over irregular, one-off stone edges and veining. It is the slowest method and demands the most skill, so it suits feature pieces, countertop edges, and small areas rather than full slabs. Cost is low in tools but high in labor.
Texture additives and surface retarders. Additives and retarders change how the surface behaves rather than pressing a pattern into it. A surface retarder delays set at the face so you can brush or wash away the cement skin to expose aggregate, which reads as exposed stone or granite. The trade-off is less control over the final look and a narrower timing window; skill requirement is moderate, and scale suits large flat areas where an exposed-aggregate finish is wanted.
Stains and color layers. Stains do not create physical texture, but they are what make a textured surface read as stone rather than gray concrete. Used after texturing, they add the color variation, recess shading, and highlights that sell the illusion. Treat staining as a companion method to whichever physical texture you choose, not a substitute for it.
A simple decision path. For a first flatwork project, start with a stamp or texture roller and one pattern. See curated starter texture tools to narrow your choices. For walls and panels, plan on formliners because pressing is impractical. For feature edges and small artistic pieces, hand carving gives the most control. For large areas where an exposed-aggregate stone look is acceptable, a surface retarder is efficient. Whichever you choose, buy a small set first and test the pattern on a scrap piece before committing to the main surface.
If you want a full setup, the Concrete Texture Rollers Pro Kit bundles five rollers and four stamps in one set. For a smaller budget, a single roller plus a few stamps covers most beginner jobs. Compare your options against the Marshalltown concrete tool range before you buy, but focus on the pattern and size you need.

The article compares the main texturing methods by the stone look, project scale, and skill level each one suits.
| Method | Best for | Key difference |
|---|---|---|
| Stamping | Patios, walkways, borders | Realistic on flatwork, but shows pattern repeats |
| Formliners | Vertical walls and precast panels | Deep, consistent relief fixed at forming time |
| Hand carving and tooling | Feature edges and small pieces | Most control, slowest and most skilled |
| Surface retarders | Large flat areas | Exposes aggregate for a stone look, narrow timing window |
| Stains and color layers | Any textured surface | Adds color and shading, but no physical texture |
Preparing the Surface and Mixing Your Material
Preparation is where most authenticity is won or lost. The texture tool only transfers what the concrete underneath allows, so a contaminated or badly proportioned base will produce soft, blurry, or patchy impressions no matter how good your stamps are.
Substrate preparation by surface type. On an existing cured slab, the goal is a clean, slightly open pore structure. Sweep and vacuum all dust, then degrease oil spots with a concrete-safe cleaner and rinse thoroughly. Acid etching or mechanical profiling (grinding or scarifying) opens the surface so a bonded overlay can key into it. On new concrete, wait until the slab has cured enough that surface water no longer sheens, and remove any laitance, form-release residue, or curing compound film before texturing or overlaying. On vertical panels and walls, the same logic applies, but gravity works against you: use a stiff mix and apply the texture in upward strokes so material does not sag out of the impression.
Mix consistency that holds an impression. The single most useful rule is to mix to a firm, clay-like consistency rather than a pourable one. A mix that is too wet slumps out of the tool and loses edge definition; a mix that is too dry crumbles at the impression edge and leaves a chalky surface that resists stain. Follow the water ratio printed on your bag as a starting point, then adjust in small increments and test on a scrap board. A mix that holds its shape when squeezed in the hand, without weeping water, is a useful starting point for the right texture window. For overlay and stamping mixes, the manufacturer's ratio is the baseline; do not add extra water to stretch working time, because that is the most common cause of weak, crumbly impressions.
Timing windows. Texture is pressed or rolled when the concrete has set to a firm, clay-like state, firm enough that a thumb press leaves a shallow dent but does not sink. This window is short, often measured in minutes on a warm day and longer in cool, shaded conditions. Work in sections you can finish inside that window, and never mix more than you can place and texture before it firms. On large slabs, plan expansion or control joints so each pour section is a size you can texture in one pass.
Curing before color and seal. Let the textured concrete cure according to the product instructions before applying stain or sealer. Moist-curing or a curing compound may be appropriate for structural slabs, but curing compounds can interfere with later stain and sealer adhesion, so check compatibility before use. Color and sealer go on after the surface is fully cured and dry.
Watch out: mixing a batch larger than you can texture within the working window is the most common cause of a slab with half crisp impressions and half smeared ones, mix small, place fast, and texture immediately.
How to Make Concrete Look Like Natural Stone
Making concrete look like natural stone is mostly about breaking up the uniform surface. Real stone has varied edges, flat planes, and small surface breaks. Your texture tool creates the pattern, but your technique adds the realism.
Start by pressing or rolling the pattern with firm, even pressure. Browse the weathered flagstone texture roller for a realistic flagstone look. Overlap your passes slightly so no seams show. Then lift the tool straight up to avoid smearing.
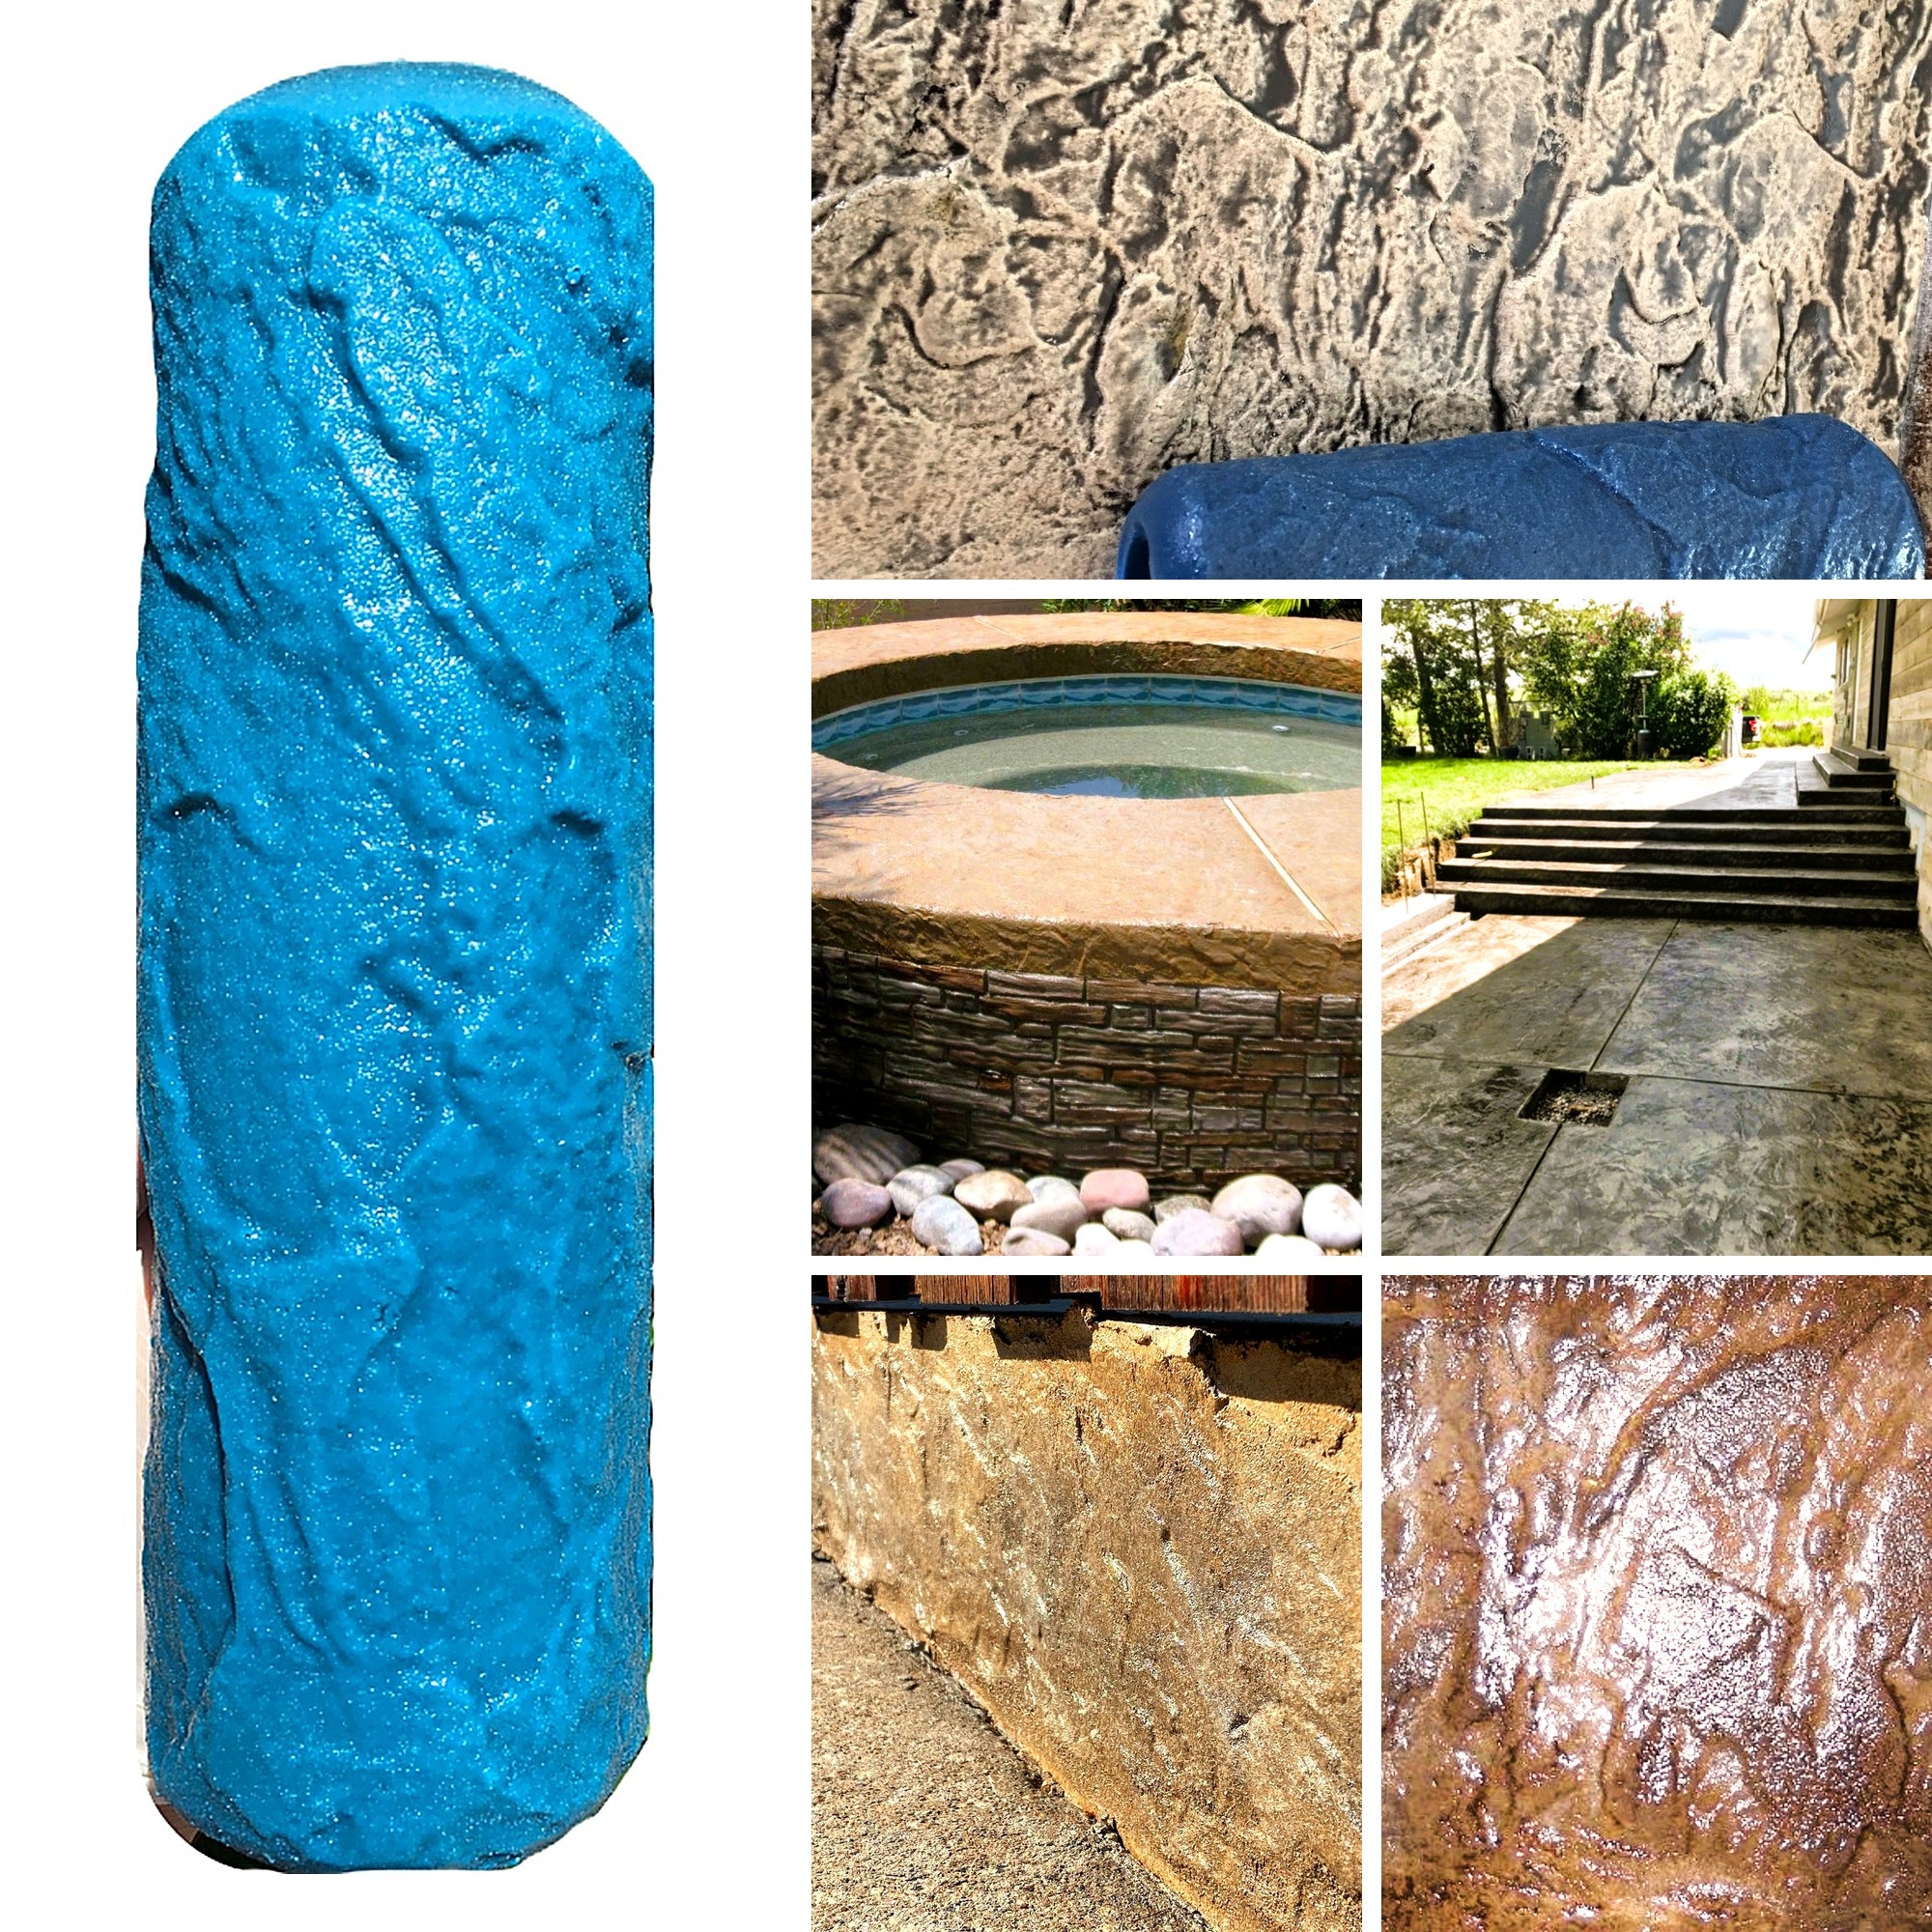
Vary your pressure and direction a little across the surface. Uniform, perfectly repeated impressions look artificial. Small irregularities make the finish read as natural rock.
Watch out: rolling too early, before the concrete firms up, drags material and blurs the detail. Wait for the clay-like firmness, then texture.
Concrete Stamping Techniques for Realistic Finishes
Stamping gives you more control than rolling, especially around shapes and corners, which is why it is a reliable route to a stone texture concrete look. Explore the cobble stone texture roller for a cobblestone pattern. Press each stamp straight down, then lift it cleanly. Rocking the stamp creates smudges and ruins the edge.
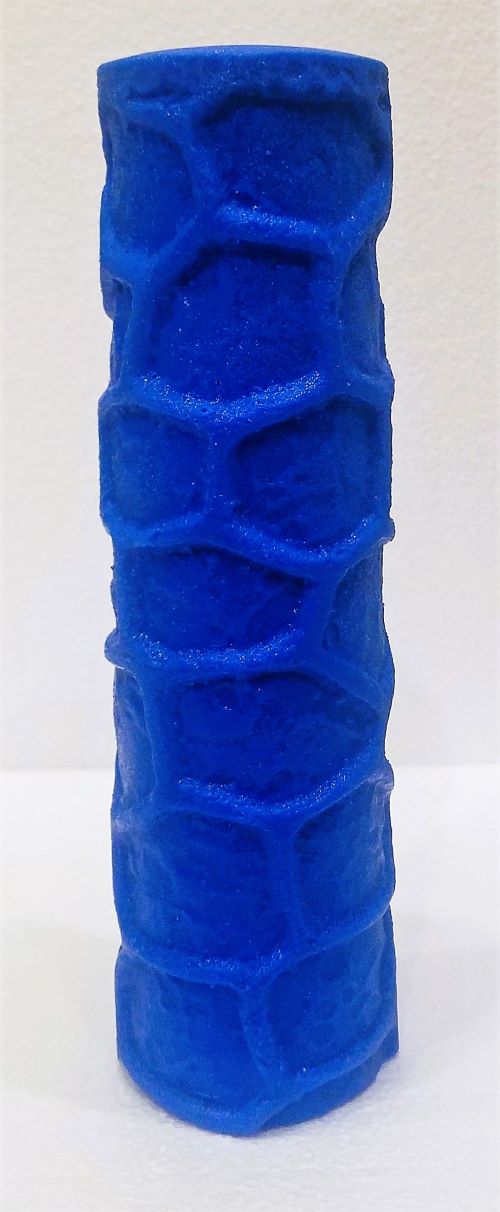
Work methodically across the slab. Set your stamps in an offset pattern so repeated impressions do not line up in obvious rows. Stagger each stamp's position and angle slightly.
Release agent is essential. Apply it lightly so the stamp lifts without pulling the concrete. Too little causes sticking; too much leaves a film that dulls color later.
For best results, test your technique on a scrap piece. Practice the lift, the spacing, and the pressure before touching your main surface.
Layering Color and Stain for Natural Variation
Color is what separates a convincing stone finish from a flat gray surface. Stone rarely has one uniform shade. Layering stains and tints creates the variation your eye expects.
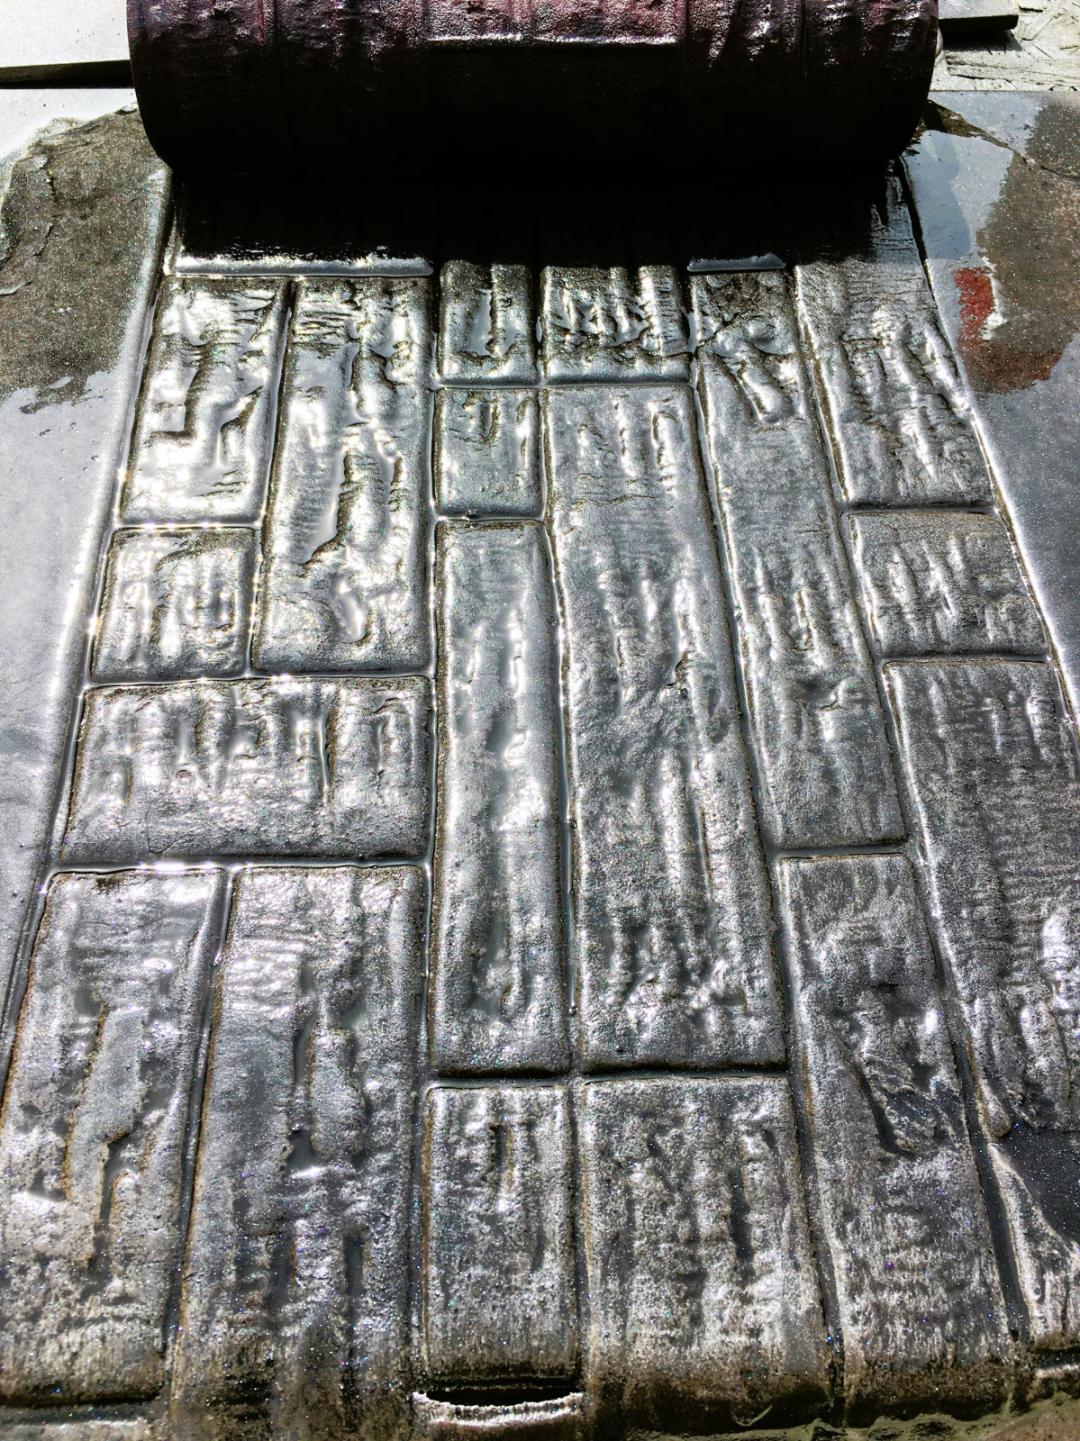
Apply a base color first, then add darker tones into recesses and lighter tones on the raised high points. Work with light coats and build the depth gradually. You can always add more, but removing too much color is difficult.
Use a mix of two or three complementary tones. Earthy browns, soft grays, and muted tans read as natural rock. Bright, saturated colors usually look artificial.
Let each layer dry fully before adding the next. Rushing this step causes streaking and muddy patches.
Achieving Stone Texture on Concrete Countertops
Countertops add a finishing challenge because you need smooth, food-safe-friendly surfaces and crisp edges. The edges are often the most visible detail, so take extra care there.
Use hand stamps for countertop edges rather than a roller. Stamps give you precise control over small areas. Keep your impressions shallow enough that the edge stays functional.
Keep the surface itself more subtle than an outdoor slab. Light texture and gentle color variation usually look more refined on a counter.
Check local guidance and any product instructions before finishing a countertop, since sealing requirements can vary. For wall, backsplash, and countertop-edge options, the Concrete Molds For Walls, Siding, Shower Walls, Countertop Backsplashes range is worth a look.
Troubleshooting Common Texturing Mistakes
Most problems come from timing, pressure, or release. Here are the usual culprits.
- Pattern drags or blurs: The concrete was textured too early. Wait for firmer set.
- Tool sticks: Not enough release agent. Apply a light, even coat before each pass.
- Visible seams: Overlap passes slightly and vary the offset.
- Pattern looks repetitive: Rotate the tool angle and stagger impressions.
- Color looks flat: Add a second, darker layer into recesses.
When a section goes wrong, fix it quickly while the concrete is still workable. Dampen and re-texture if the surface allows, or plan to correct the area after it cures.
Sealing and Maintaining Your Textured Surface
Sealing protects the color and texture from water, staining, and wear. Choose a sealer suited to your surface, whether it is outdoors, indoors, or a countertop.
Apply the sealer after the concrete has cured fully and the color has dried. Follow the product's coverage rate and recoat schedule. Two thin coats usually beat one heavy coat.
Maintenance is simple. Sweep debris regularly, clean spills promptly, and reseal according to the product's guidance. Harsh chemicals can dull the finish, so use gentle cleaners.
Planning Your First Textured Project
Start with a small test area, such as a stepping stone or a sample panel. This lets you dial in your mix, timing, and color without risking the main project.
Set a simple sequence: prepare, mix, texture, color, seal. Write down your mix ratio, timing, and stain colors so you can repeat what works.
Choose one manageable project for your first attempt, like a walkway section or a countertop edge. Build skill before tackling a full patio or feature wall.
Our team at Something Better Corporation offers hands-on decorative concrete training courses and video instruction if you want structured guidance. Whatever path you choose, a clear plan and a practice piece will do more for your result than any single tool.
Frequently Asked Questions
What tools are best for creating realistic stone textures on concrete?
Texture rollers and hand stamps are the most practical tools for realistic stone texture. Rollers cover open fields quickly without seams, while stamps handle borders, steps, countertop edges and areas a roller cannot reach. Look for patterns cast from real stone, since they hold more detail than generic designs. Whichever you choose, use a release agent such as odorless mineral spirits so the texture lifts cleanly, and always test on a small area first before working on the full surface.
Can you achieve authentic stone textures on existing concrete?
Not directly. Texture tools imprint fresh, workable material, so they will not pattern an existing cured slab. To resurface an old slab or wall, apply a cement overlay roughly 1/8 to 1/4 inch thick, then texture it while it is still workable. Timing matters: the overlay should reach a clay-like firmness, usually 10 to 15 minutes after placing in most mixes and longer in cool weather, before you roll or press.
How do you make concrete look like natural stone?
Combine a stone-pattern texture with color work. Impress the pattern into material at the right firmness, then add stain in layers, starting with lighter tones and building darker accents in the recesses. Varying the color between sections and avoiding a repeated, obvious pattern makes the result read as natural stone. Protect the color with a sealer once the surface has cured.
